Showing posts with label outdoors. Show all posts

April 8, 2010

Calling All Amateur Gardeners

Hello Sew Green readers! I'm Jennifer and I usually blog about vegetarian food over at It Ain't Meat, Babe. This is my first post for Sew Green so I decided to focus on my current non-cooking obsession: my garden. Enjoy!


My friend Shawn has been a gardener as long as I've known him. He comes from a family that planted, no joke, one hundred tomato plants every summer. And even when we were both in our early twenties, when all my other friends were more interested in booze and rock 'n roll, Shawn and his partner Katie were thinking about, talking about, and growing their own food.

For the past decade I've had sporadic container gardens. When my living situation allowed for it, I'd have some basil, lettuce, and tomato plants on the back deck. I always wanted to grow as much of my own food as possible, being very aware of the positive effects it would have on both the environment and my health. I liked those little container gardens just fine, but I dreamed of something bigger. Then I moved into a home with a vast yard and my lovely partner built a fence to keep the dogs out of the sunniest part of it. I finally had my chance. Last year was my first year as a full fledged, in-the-ground, gardener. I was terrified.

As anyone who has ever started a garden knows, it can be completely overwhelming. I didn’t know what to grow where, let alone which specific variety of organic tomato to order from which fancy seed catalogue. So, I played it safe and bought plants from a local nursery, not trying anything from seed. I found the thought of seeding my own plants wildly intimidating. With the plants from the nursery, I reasoned, all I had to do was keep them alive. Someone else had the daunting task of growing them from seed.
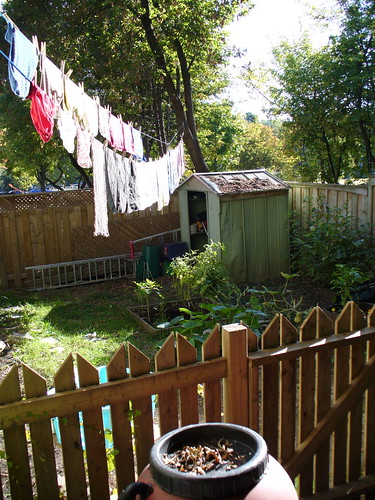
side yard with laundry

Truthfully, the selection of vegetable plants at the local nurseries and markets wasn't that great. And the food I grew was nice, but not as amazing as the heirloom vegetables I got at the neighbourhood farmer's market. It was enough to make me want to conquer my fears of seed starting as I moved into my second year of small-scale urban farming. I started reading up on how to seed my own plants.

One of the problems that a novice gardener faces is how to navigate a whole internet’s worth of contradictory gardening advice. Sites discussing seed starting were no exception. You need grow lights! You don't need grown lights! Start your seeds in paper towels! Just shove your seeds in the ground! Seed them in toilet paper rolls! Seed them in the largest pots possible! It was enough to make me put my head down on the table and weep.

Which is when I turned to Shawn. I figured with the years of gardening experience he had under his belt, he'd probably give me reasonable advice on the delicate art of seed starting.

He did. He told me one thing in particular that has been echoing in my head since I read it in the text of his advice-filled e-mail. The most important piece of advice anyone has given me since I began my gardening adventures.

He said, "Plants grow through f@#*ing cement."

In other words, relax. Plants know what they're doing.

Besides that priceless piece of advice, Shawn told me that for seed starting, a south facing window was going to be my best friend. Check! The window in our kitchen faces south and has a nice wide sill. He told me to get whatever potting soil mix I liked, then add my own compost (which, for our vegetarian household, is rich and plentiful), fill up some trays, cover them with one of those clear plastic domes, add water, and wait.

I nervously hovered over my seedlings for a few days, wondering if anything at all would pop out of all that soil. Then I forgot to check one day and by the time I remembered, about a dozen skinny green seedlings were poking their way up out of the dirt towards the light.


And that's where we are right now in this long and lovely gardening process. I removed the dome as soon as I saw green (also Shawn's suggestion) and I've been using a spray bottle full of water to gently dampen the trays of seedlings every day (again, Shawn). This weekend I planted another tray, this one full of basil seeds. I can't wait to see them start to poke up out of the soil. Finally, I'm confident that I can do this whole seed starting thing. I may be an amateur, but at least the plants know what they're doing.

-Jennifer

September 5, 2007

camping, a little simpler

wayah bald 3
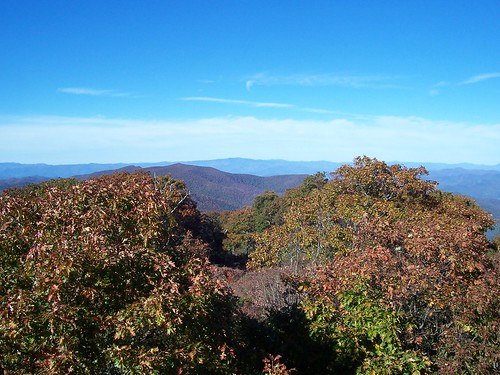
wayah bald, north carolina, october 06

One of my favorite ways to break out of the daily routine and really relax, is by going camping. Whether we trek into a wildnerness area or just hang out in a drive-in campsite, I love to cook outside, watch the stars and sleep to the sounds of owls, crickets and frogs. Most of all I love waking up to the sounds of the woods, and having breakfast to a loud chorus of morning birdsong.

We love to go backpacking, when you carry everything you need on your back, and hike for a few days from campsite to campsite, but as I've developed arthritis, I've been working hard to lighten my pack. The thing that's made the biggest weight difference for me has been food. It seems we always carried more than we needed, or packed things that would go bad or get mushy before we ate them, or just otherwise wasted weight and space in the packs. What I've learned about lightening the load has also made our regular camping a lot easier, too. I am always amazed at the huge loads of stuff - especially food-related stuff like huge gas grills - that we see people bring to campsites.

Two summers ago, I scoured the library for books on backpacking food, and found two in particular that taught me a lot: Backcountry Cooking, by Dorcas Miller (published by Backpacker magazine), and The Trailside Cookbook by Don & Pam Philpott. If you're a backpacker, I recommend both highly! Here's some of what I learned from these books:

tools

You don't need to bring lots of plates, cups, pans, etc. You need four tools for cooking and eating on the trail:
- a small, simple, lightweight stove (even if you camp in campsites, a stove saves tremendous amounts of wood that you'd otherwise need for cooking. Fires may be allowed, but they're terribly damaging to the landscape and to air quality).
- one set of nesting cooking pots (a set with two small pots, one lid and one multi-use handle works really well for us, but most times you probably just need one pot).
- a small- to medium-sized tupperware container with a tight-fitting lid (it's a storage vessel, a bowl and a plate all in one).
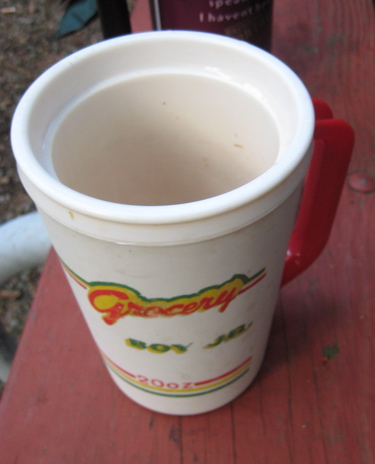
- a 20-oz insulated thermos mug. This is the most important tool of all!

If you have these items, you can cook just about anything on the trail - you can even bake bread. The thermos mug is your drinking cup, soup bowl, and food rehydrator. It keeps a frosty beer cold, and a cup of coffee hot. In the dead of winter, you can stick it inside your jacket while your dinner rehydrates, and it warms you up before you even have your soup.

There are lots of other tools you can get, but I think these are the most important - and they're widely available used in thrift shops. When you pack food for your camping trip, plan by meal, and pack one breakfast, one lunch and one dinner serving for each person for each day. Don't forget dessert! Besides these, you need enough water per person per day, and enough trail mix or granola bars for each person to keep you going on long hikes. Don't pack more than that, though - it's just extra weight to carry, and usually in the end, waste.

I also like to make up a spice kit, with small containers full of favorite spices for the trail (film canisters are very useful for this): basil, garlic, Chinese 5-spice, cayenne pepper, olive oil, fresh ginger, etc. Throw in some take-out packets of soy sauce, wasabi and salsa, and you're ready for anything.

rockyknob4
my most treasured possession

recipes

These are a few of my most favorite camping recipes. Many of these things (like instant grits) I'd never eat at home, but somehow after a long day of hiking, they taste divine. Especially when followed with cookies.

breakfast: powered-up oatmeal
(from Backcountry Cooking)

Before you go, mix up this oatmeal additive in the food processor at home. It makes a delicious bowl of oatmeal that gives you lots more energy for the trail. I even eat it at home sometimes:
- 24 small dried apricots, quartered
- 16 dates, quartered
- 1 cup wheat germ
- 3/4 cup sliced almonds
1 1/3 cups powdered milk
Blend in food processor until ingredients are finely chopped. Store in the fridge.

When you go camping, pack the oatmeal additive in individual servings of one heaping 1/2 cup. On the trail, add the mix to two packets of plain instant oatmeal, and about 1 1/3 cup boiling water. Make this in your big thermos cup!

lunch: tomato-almond salad
(from Backcountry Cooking)

1/4 cup couscous
3 Tbsp toasted almonds, chopped fine
3 Tbsp chopped sun-dried tomatoes
1/4 tsp dried basil
1/8 tsp garlic powder

Before you go, mix well and pack into 1/2 cup servings (per person - you can combine as many as you need for your group). On the trail, after breakfast, put all the ingredients into your secure tupperware container with one generous cup hot water to each 1/2 cup salad mix. At lunchtime, fluff it up with a fork and serve.

dinner: cheese grits and rat-tat-tooey
(if you are car-camping and can bring a cooler) - makes 2+ servings

- 1 small onion
- 3 cloves garlic
- 2 small hot peppers
Before you go, place these in your food processor and chop finely, or just chop by hand. Bring them along in a tightly-closed container in the cooler.

-1 Tbsp olive oil
- 1 cup chopped tomatoes
- 2 soy-sage (or real sausage) links
- 2 oz diced cheddar cheese
- 4 packets of instant grits

On the trail, saute the onions, garlic and peppers in the olive oil until tender. Add the tomatoes and whatever spices you like. I use Ozark spice and cayenne. Once the mixture is hot, cut up the fake (or real) sausage into small pieces and toss into the sauce to simmer for at least 10 minutes.

Place 2 packets of grits in each person's thermos mug. Add 1 cup boiling water to each. Stir well and let sit for about 5 minutes. Add cheese and stir well. Spoon some of the rat-tat-tooey on top and you're all set!

I think the secret to camping and backpacking more simply is to plan carefully, and eat well. Rain, stinky socks and hat-hair don't seem to matter as much when your belly is content.

100_1566
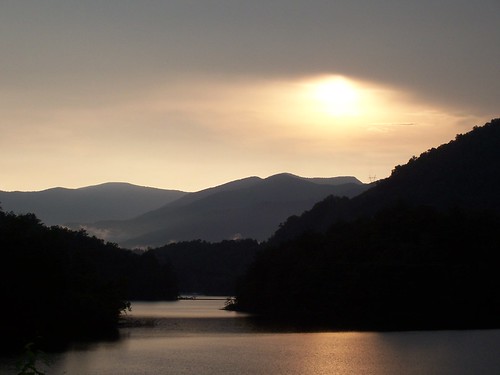
sunset on the little tennessee river, august 06